Today’s guest post is from the very talented Caroline at CheerUpButterCupX, whose blog is a mixture of fashion, crafts and a little bit of everything else. I love a mixed bag, as every post is a surprise to the reader.
For this post, I will be showing you how to make your very own cushion covers perfect for gift idea or nice little touches for your home!
It is a fiddly thing but the result makes you feel so happy and proud as you have made something yourself.
You can either hand stitch it or use a sewing machine if you have one.
I will show you how to make a basic, plain cushion cover and then at the end include three designs I made as gifts for friends/family!
So let us begin…
What you will need:
a cushion pad (the inside of the cushion basically)
material of your choice
thread that matches your material colour (or white if it is patterned)
a zip the length of just over half the size of one of the pads sides
pompom trim to go around (optional)
fabric chalk
pins
scissors
felt for your design (like I said I will show you three)
A sewing machine or needles and thread
I used an 45x45cm cushion pad therefore needed a metre of fabric (the fabric had two pieces together so it was 2 metres of it for the price of one) and two metres of the pompom trim.
1. Turning your chosen material inside out (the print facing each other), measure out the cushion pad whilst adding an extra 2 or 3cms for the seam allowance. Please make sure the material is flat (no bumps). Use the fabric chalk to draw the outline out as this will eventually disappear over time! Once you have done this, cut it out!
2. Making sure the material is still flat, place the pompom at the 2 or 3cm you left for the seam allowance and pin it down. You are now ready to sew.
What it should look like
What it looks like inside with the pompom trim
3. If you are hand stitching then take the needle and thread and start sewing along the lines leaving one side untouched – don’t even sew it together yet! This is the same if you are using a sewing machine- make sure you are sewing the pompoms too!
4. Three sides should be sew together so turn it right side out and this is the test to see if the pad still fits! If it does then excellent! If it doesn’t then just unpick it a side and sew a bit more material from the allowance you left!
Once it fits, cut off some of the seam allowance as you have sew so it should be secure now.
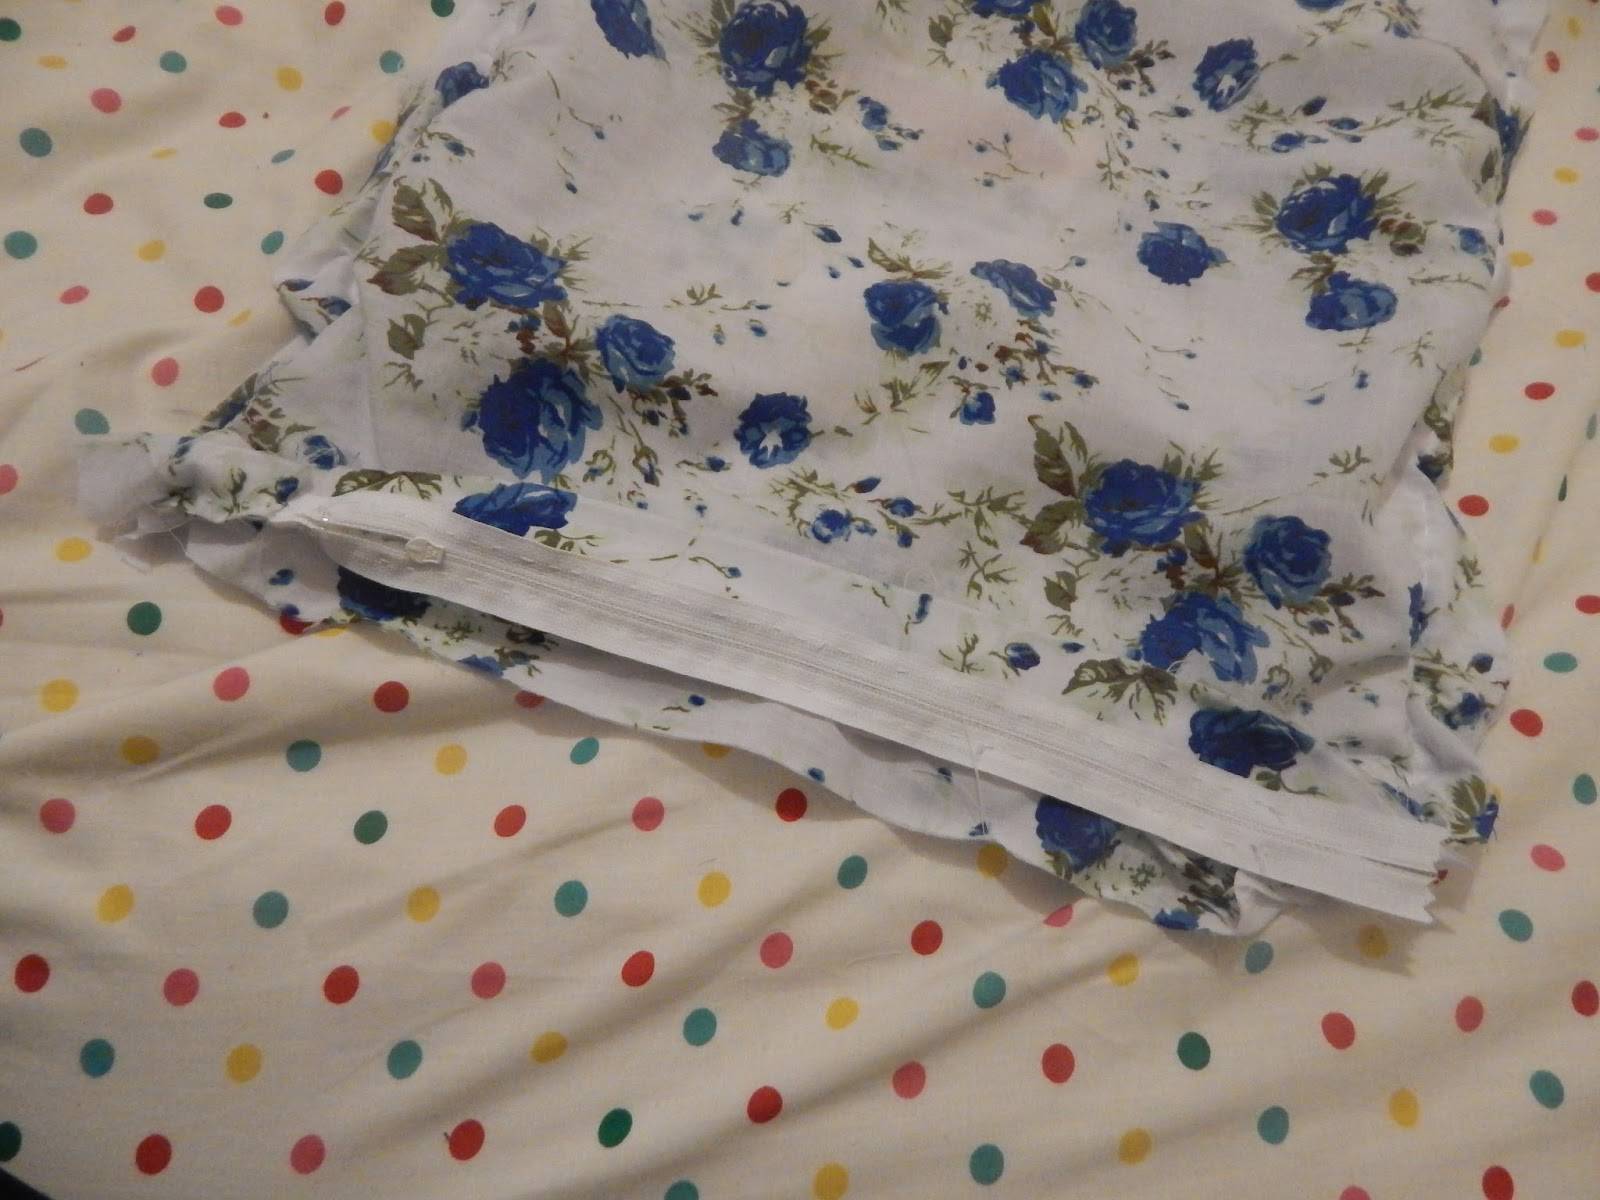
5. For the zip (I hate doing these so much), take the fourth side of the cover and place the zip in the centre.
Now, fold the material over and place the zipper in between. I think it is best to open the zip so you now roughly want it should look like once you have sew it on but it is up to you whether or not you do this.
Ok deep breath, it’s now time to sew both sides (the front side with the pompoms so they cover the zip) but please make sure you don’t sew the side together otherwise you wont be able to open the cover up.
Zip in place, it is ready to be sewn
6. Open the zip up, turn right side out and place the pad inside and there you have it!
Now for the three designs:
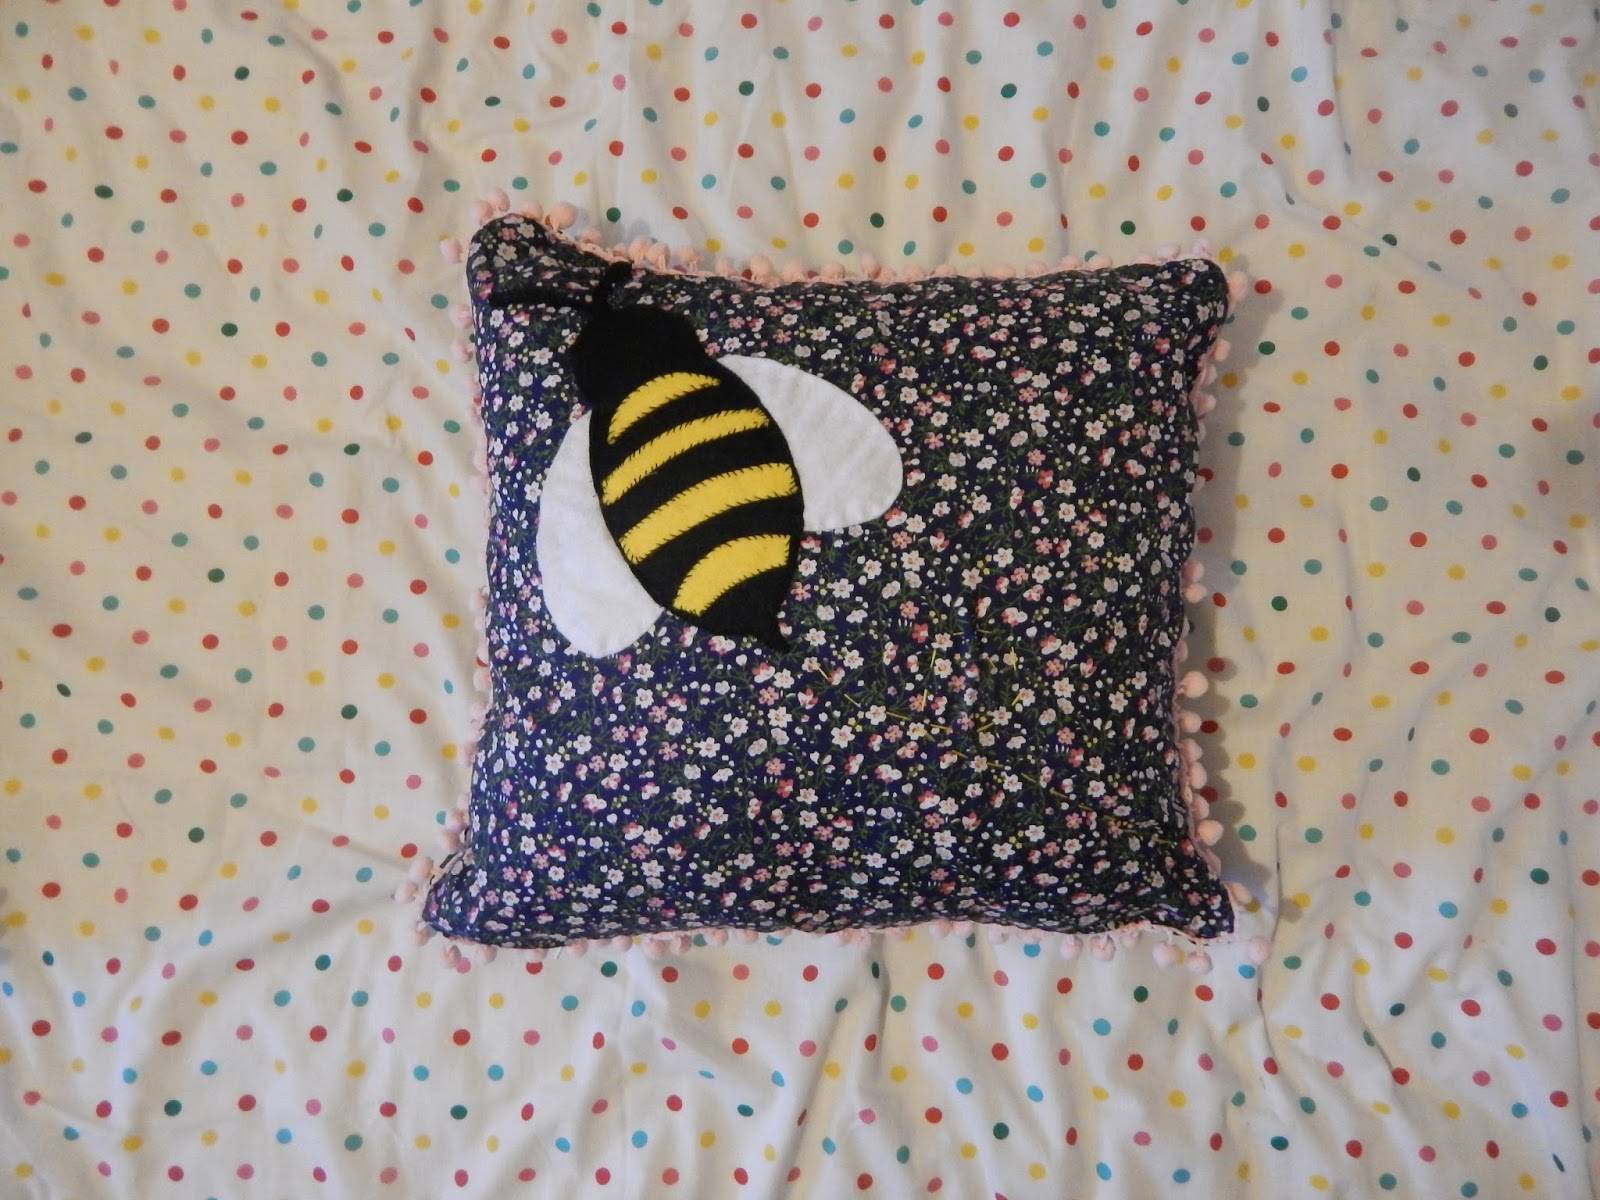
BEE
What you will need: felt (black, yellow, white), thread
Find or draw out a basic bee outline and cut out the different sections (wings, stripes, main body and head).
Pin the sections to the correct colour and cut out. Then sew all of the sections together making sure they are firmly together.
Place in the centre of the front side only of the cover, sew it on and you have just made a sweet cushion cover!
TEACUP
What you will need: felt (your chosen colour for the teacup, a colour for the teacup trim -on mine it was yellow- a light brown for the tea and a colour for the design -mine was blue and green for the flower pattern-), thread
Find or draw out a basic teacup outline and cut out the different sections (the teacup, the pattern on it if you have one and the trim around the cup). Pin the sections to the correct colour, cut out and sew all of the sections together tightly. Then sew it onto the front side only of the cover, sew the tea cup shape with the same colour as your trim and you have just produced a cover perfect for those who love a good cuppa!
PANDA
What will you need: felt (black, white, pale pink), thread
Find or draw out a basic panda face outline and cut out the different sections (eyes, ears, nose, cheek blush and mouth). Pin the sections to the correct colour and cut out. Then sew it onto the front side only (spaced out though) and you have created such an adorable cushion!
Well there you go, I hope you enjoyed it!
You can keep up to date with Caroline by following her on Twitter and Instagram.
This website uses cookies to improve your experience. We'll assume you're ok with this, but you can opt-out if you wish.AcceptRejectRead More
Privacy & Cookies Policy
Privacy Overview
This website uses cookies to improve your experience while you navigate through the website. Out of these, the cookies that are categorized as necessary are stored on your browser as they are essential for the working of basic functionalities of the website. We also use third-party cookies that help us analyze and understand how you use this website. These cookies will be stored in your browser only with your consent. You also have the option to opt-out of these cookies. But opting out of some of these cookies may affect your browsing experience.
Necessary cookies are absolutely essential for the website to function properly. This category only includes cookies that ensures basic functionalities and security features of the website. These cookies do not store any personal information.
Any cookies that may not be particularly necessary for the website to function and is used specifically to collect user personal data via analytics, ads, other embedded contents are termed as non-necessary cookies. It is mandatory to procure user consent prior to running these cookies on your website.
 What it should look like