
Last week I was invited along to a Photography master class at the Botanist in Newcastle. The event was set up by Viking who had teamed up with professional photographer Elouisa Georgiou to create a Digital Photography Masterclass which specifically aimed at bloggers.
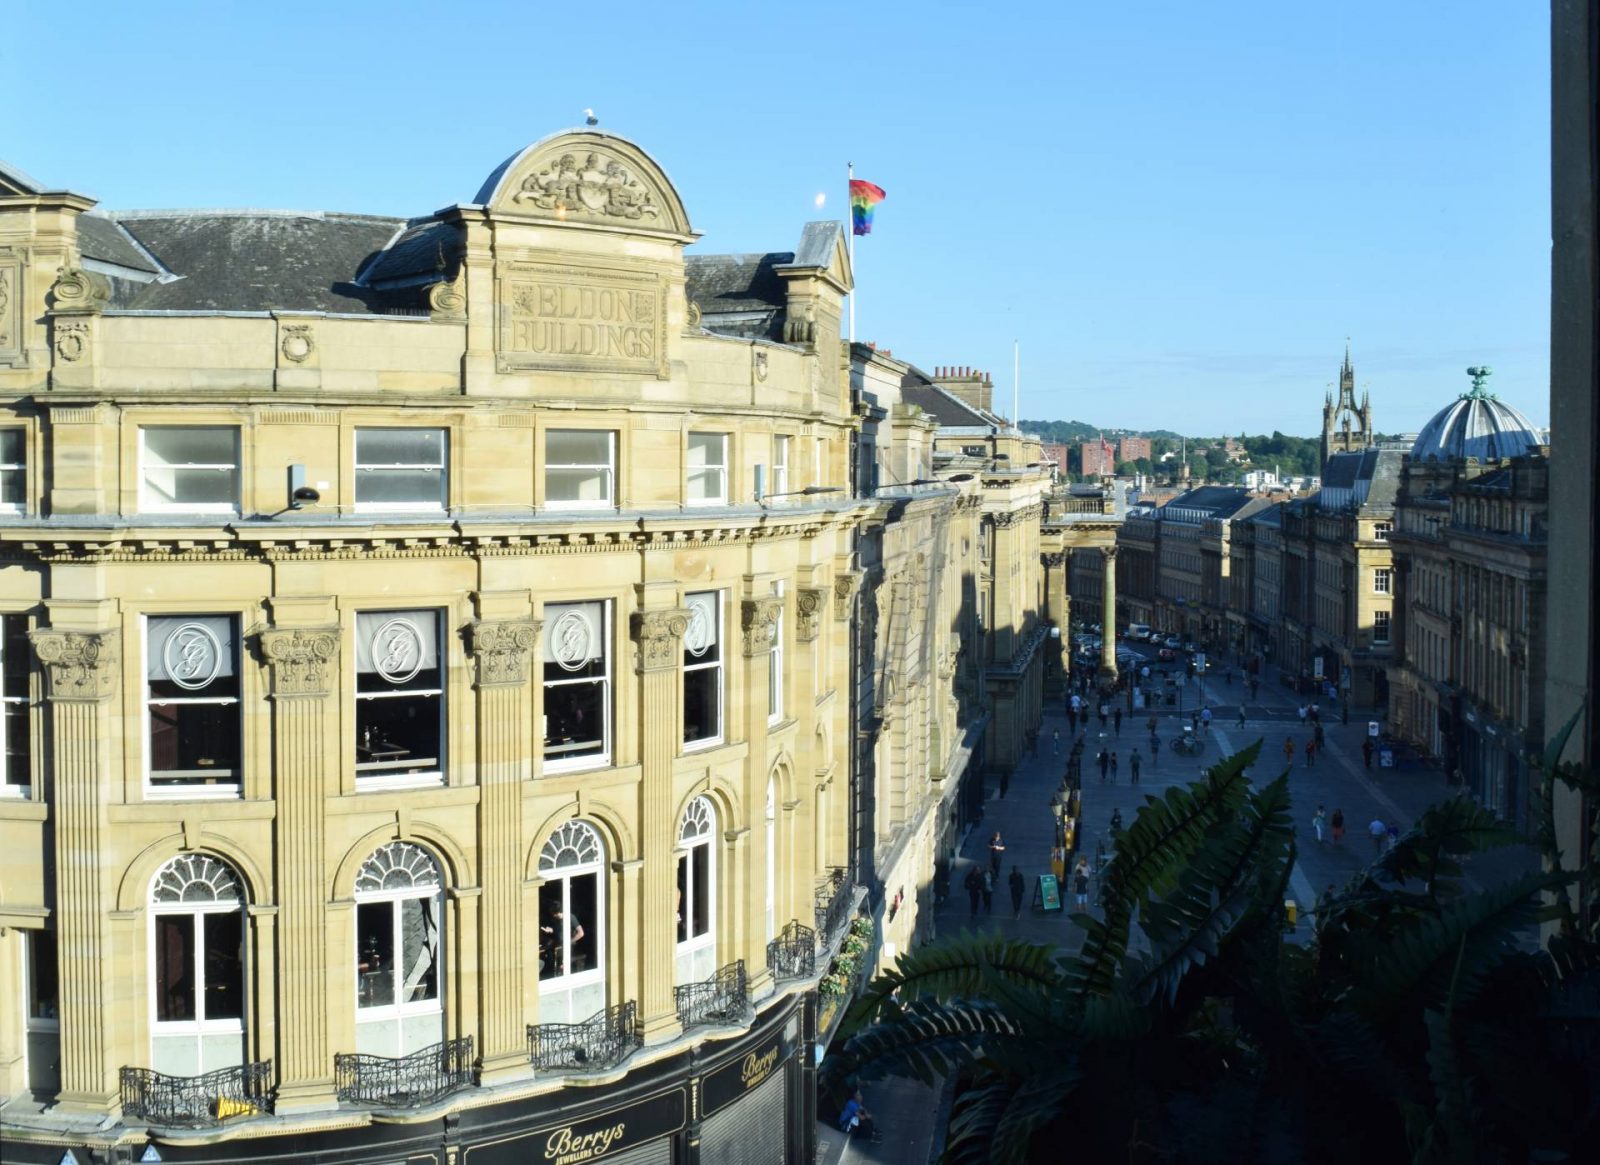
The Botanist is such a beautiful venue and it was lovely to catch up with some other North East bloggers and meet some new ones!
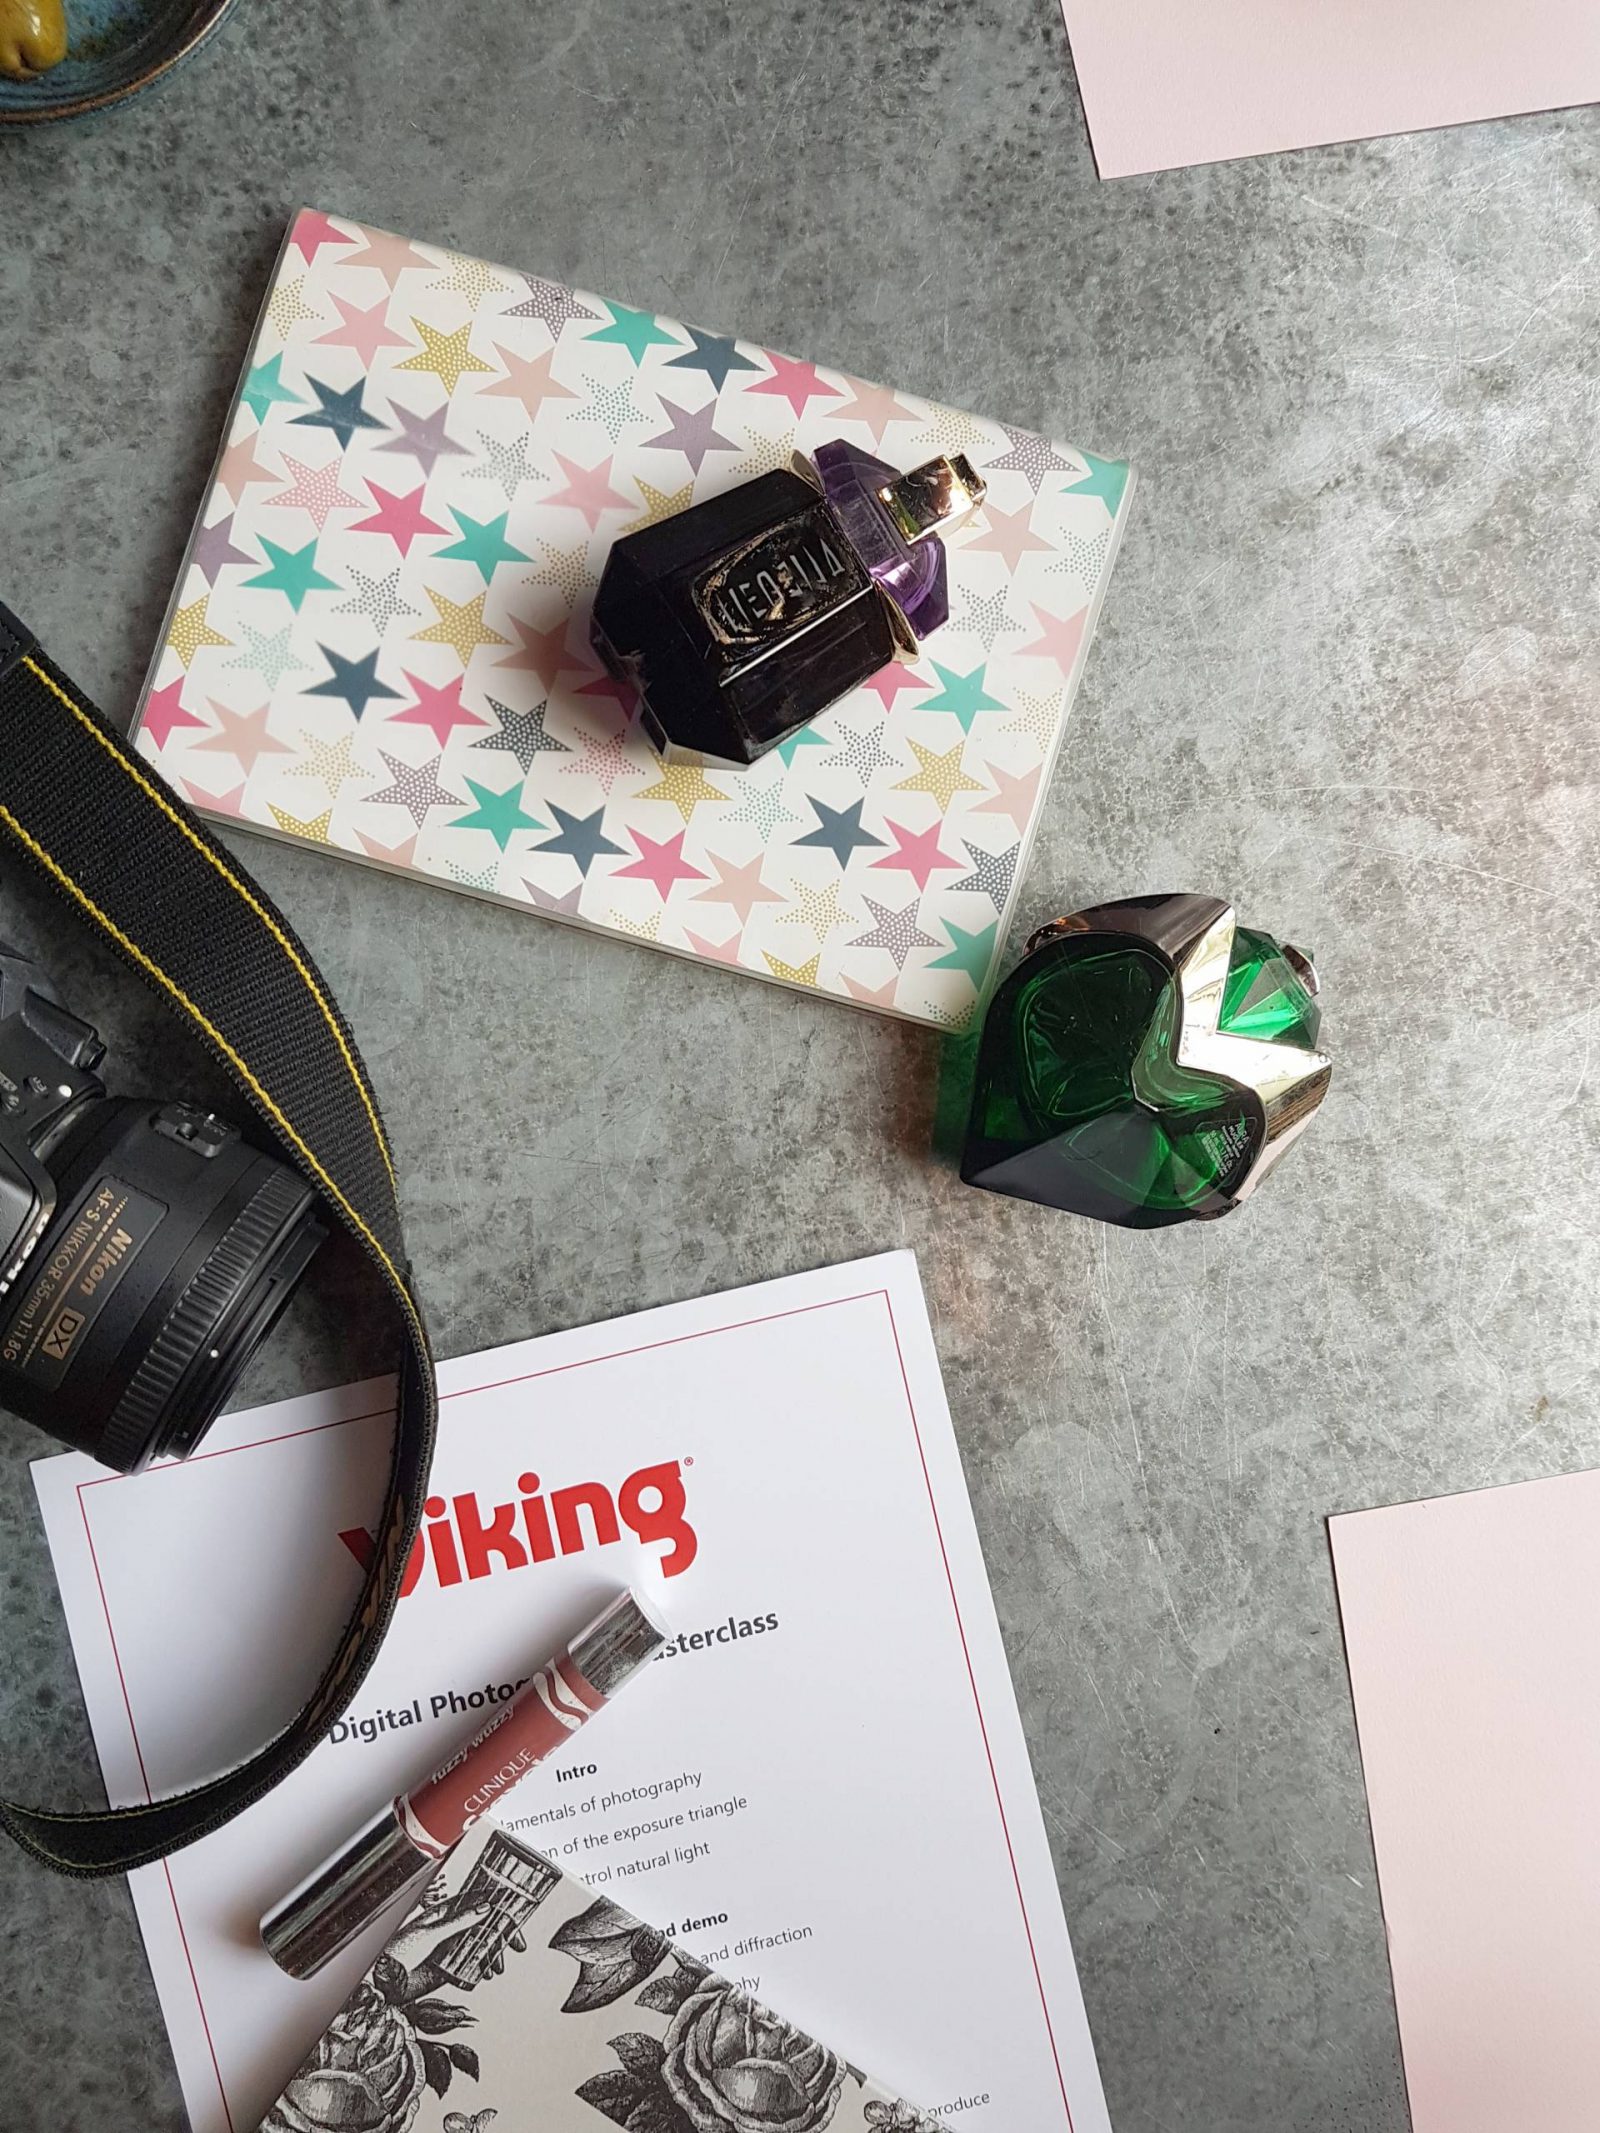
Elouisa Georgiou to give us some tips on things like lighting, flat lays and using objects like prisms to create unique photos.
Unfortunately due to traffic I was about 30 minutes late so missed the opening part of the event and if I’m honest, I never really felt I caught up. There were possibly a few too many bloggers so actually speaking to Elouisa was difficult.
We sat in small groups and were tasked with moving round each of the tables, trying out different photography techniques and chatting. We were encouraged to take pictures along the way, move away from auto setting and step out out of our comfort zone. The best photo at the end of the night would win a fab new printer from Viking.

We were given tips on flat lays, using boards to bounce the light and using prisms to refract and reflect the light.
Elouisa also shared some tips for enhancing your photography skills and some things that I really should have known considering I’ve been blogging and taking photos for over 5 years.
The important things to remember when taking a photo are –
Shutter Speed
This is how fast the shutter captures your image. To stop motion, you will need a higher shutter speed number, to capture motion you will need to shoot at a lower shutter speed number to create blur. But remember, a faster/higher shutter speed means less light is being let into the camera.
ISO
The lower the ISO, the less sensitive the sensor it is to the light, the higher the ISO the more sensitive your camera is to light. For clear and less ‘grainy’ photos with as much detail as possible we always want to shoot at the lowest ISO possible.
Aperture
Also known as the F stop, this controls the depth of field, i.e. the amount of subject you will have in focus in the foreground/background of an image. A wide aperture (f/2) or low F stop has a softer focus of the background, letting more light in as well as creating a bokeh (blur) to the background. A narrow aperture (f/22) or a higher F stop has more in focus in the background and lets less light in.
Getting a clear and attractive image is about balancing all three of these without sacrificing one another. If you have time but not a great amount of light, opt to use a tripod so you can shoot at a slower shutter speed to capture your image without the motion blur.
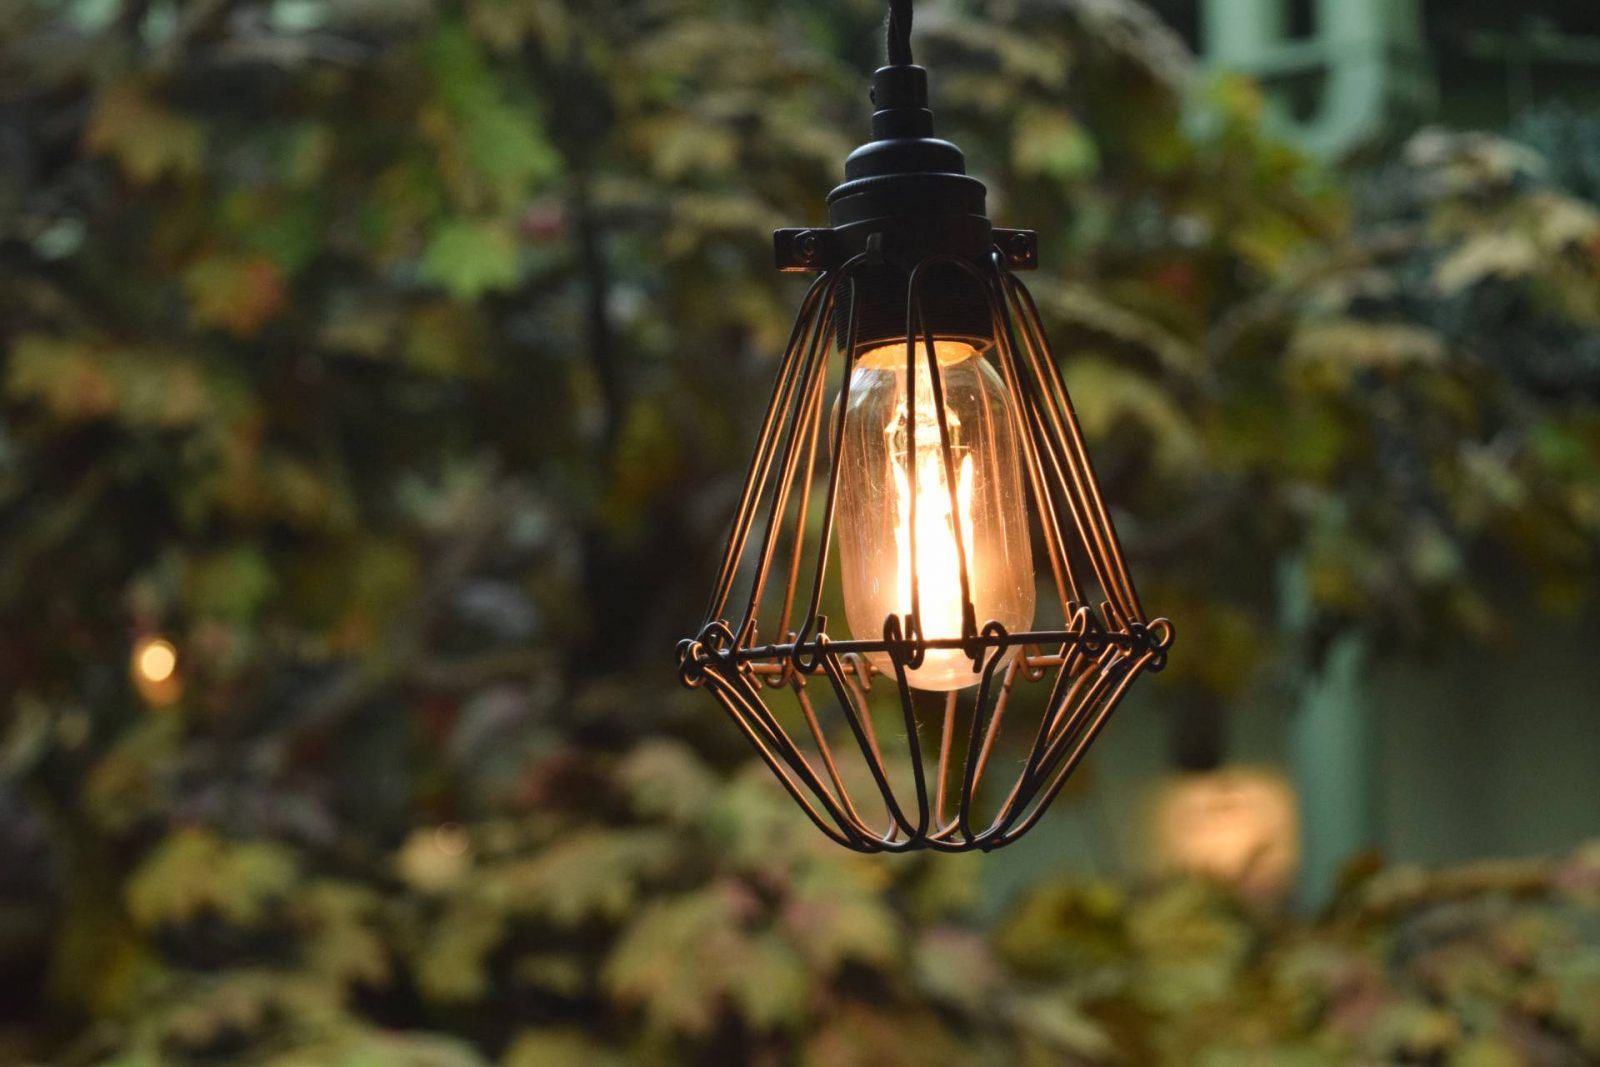
Lighting tips
Natural light is always your friend. But be aware of ambient light in the room that can play with the colour balancing of your image or influence the shot.
* Turn off or block out any ambient lighting in the room.
* Use natural reflectors in the room. If you do not have anything you can use to hand, use white, light or shiny surfaces. Plane pieces of paper work well. Foam boards are a cheap and versatile piece of equipment to help bounce light.
* If the lighting is too strong, harsh or windows are too big, use a clear curtain of thin sheet to diffuse the lighting.
* If you don’t have enough light available to you, use a tripod so you can shoot slower.
Creating interesting portraits using reflection, diffraction
* Use prisms, glasses, bottles, windows or even the reflection from a mobile phone screen to create interesting creative images.
* Experiment with holding items at different distances over the lens to create interesting flashes of light and blurs.
* Use shadows and reflections to create visibility through a reflective surface.
Flatlay photography tips
* Use a tripod on your camera or phone if you can. This will help with any motion blur. Keep your shot consistent.
* Use the live view to help you compose the different elements in your flatlay
* Don’t be too afraid to put items a little closer together. Large gaps in-between subjects aren’t always aesthetically pleasing.
* Don’t be afraid to go outside the frame. Play having subject matters half in shot and half out of frame. There are no rules.
* If using a camera use a lens with less distortion to create the ‘perfect looking’ flatlays.
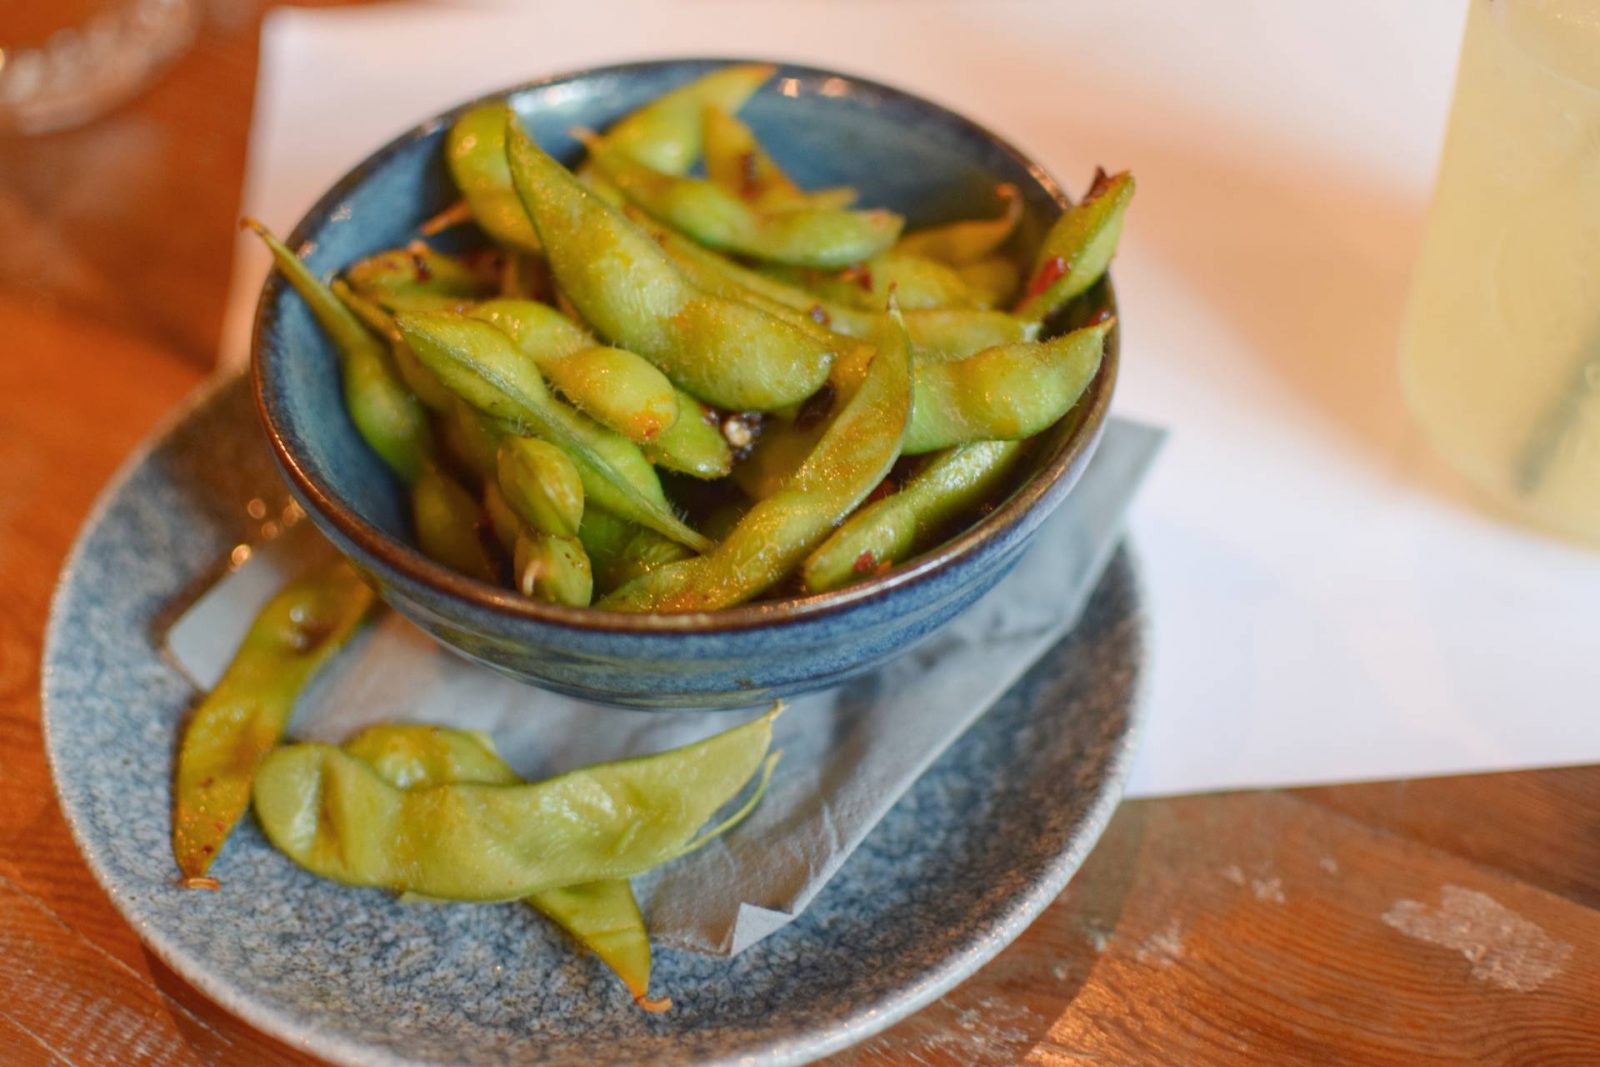
Food, drink, product and still life photography tips
* Practise using the ‘magic angles’ to find that sweet spot (straight on, 45 degrees, bird’s-eye/flatlay).
* Don’t be afraid to focus on the details of the dish. There is no rule to say you have to get the entirety of the plate in the shot.
* Use bounce boards, menus or paper to even out the lighting in the shot creating light and shadow where you want it and don’t want it.
* Use what you can find to decorate the image but try not to make it overly busy to draw focus from the dish.
* Use a low aperture to create bokeh in the background or move the product further away from any distracting background.
* If using a camera, use a lens with less distortion to give more realistic proportional images.
It was lovely to catch up with some other local bloggers during the night and learn some new photography techniques. We were all given a tripod to help us take better photos and help us up our Instagram game!
* I was invited along to the blogger event and given complementary food and drink and a tripod for attending.
