You might have seen me mention my love of scrapbooking on my blog before. I recorded the little mans first year in a scrapbook and love looking back through it. Instead of storing my photographs on my phone, scrapbooking or memory keeping as some like to call it, is a great way to get them off your phone and turning them into something physical and creative.

I was kindly sent some gorgeous new Stampin Up! products so I could document and record our family Christmas and take part in the Memories and More campaign.

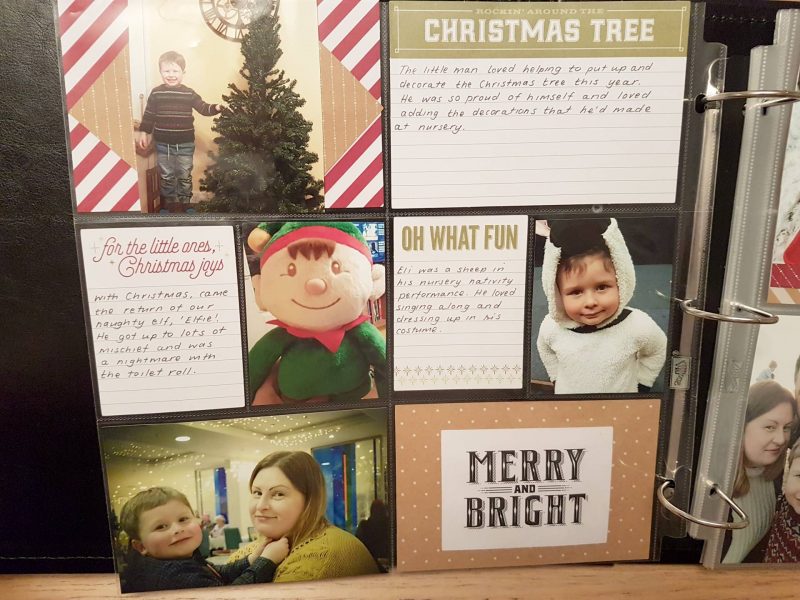
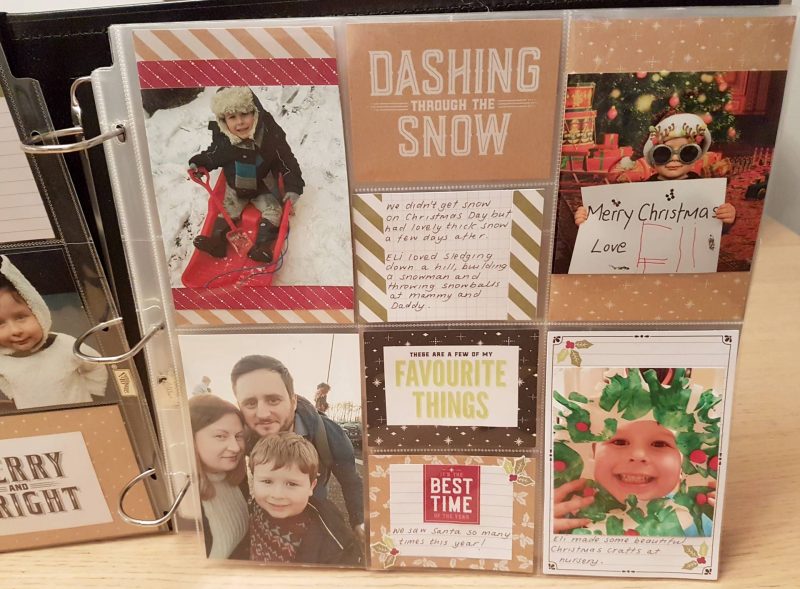
I was sent the Merry Little Christmas Memories & More Card Pack, a black faux leather 12 x 12 album, a variety pack of 12 x 12 photo pocket pages and two journaling pens to help record our Christmas memories.
Over time, you might enhance and add to your collection, but those four things are the only things you really need to start of your memory making project.
Before you get started, it’s best to sort out the photographs you’d like to use. I used a variety of photos taken from both my phone and SLR and got them printed using one of the instant print machines in Boots. I chose both 4 x 4 square and standard 6 x 4 prints. If you intend to print photo’s regularly, I’d recommend the Canon Selphy photo I bought it a while ago and it’s such a hand little printer.
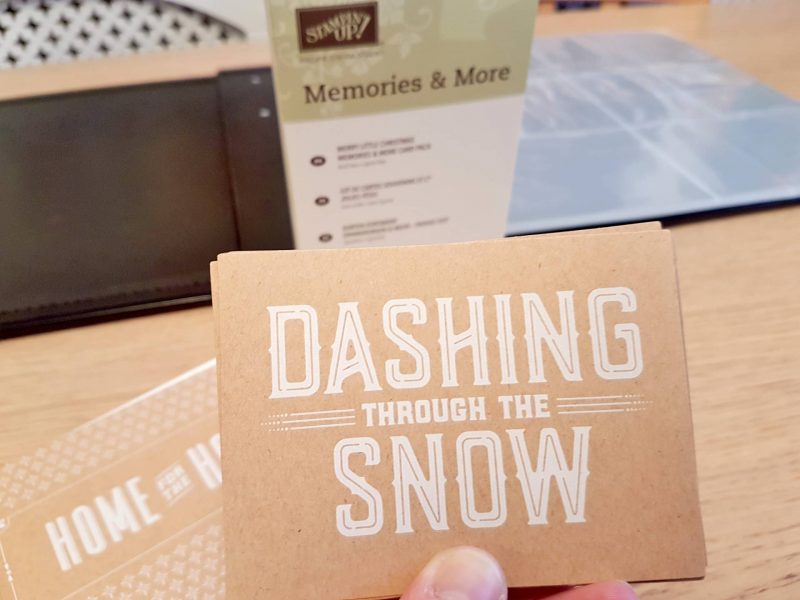
I then chose the Merry Little Christmas Memories & More cards that I wanted to include. The card pack contains 72 double sided cards, you get 52 3 x 4 cards with 26 designs ( 2 of each design ) and then you get 20 4 x 6 with 10 different designs ( 2 of each ).
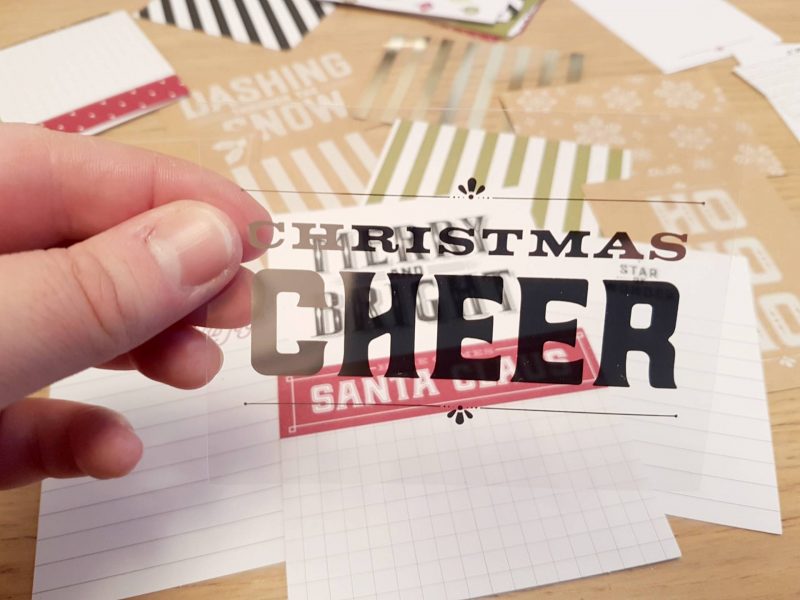
As well as the standard cards there are a couple of acetate translucent and silver overlays and some pretty stickers which you can use to embellish your designs.

The card park is pretty universal. You could use it to create full pages, use them to fill and decorate your album pockets or even add parts of them as embellishments to homemade cards or gift tags. The designs are very pretty and have a beautiful traditional festive look.
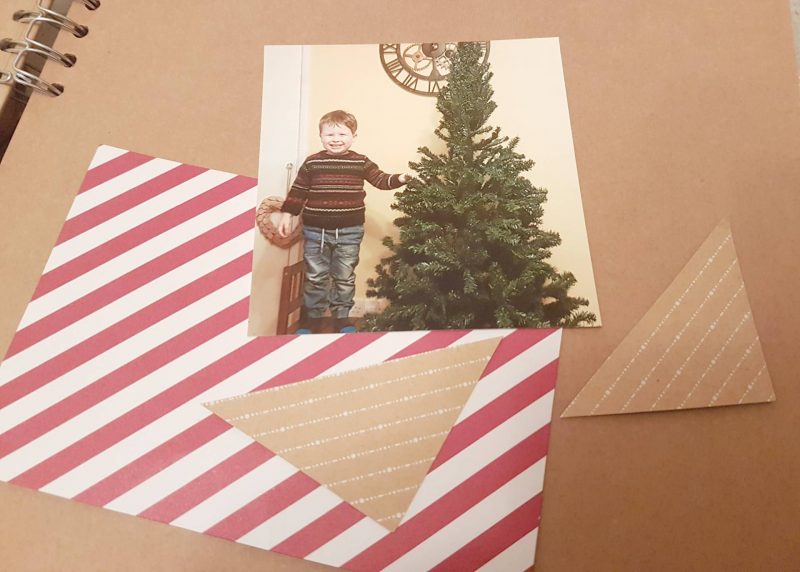
The pocket pages contain spaces that are 4” x 6” and 3” x 4”, in either portrait or landscape, so you fill the pocket with a photograph or cut down a photograph and add it to a card to fill the pocket.
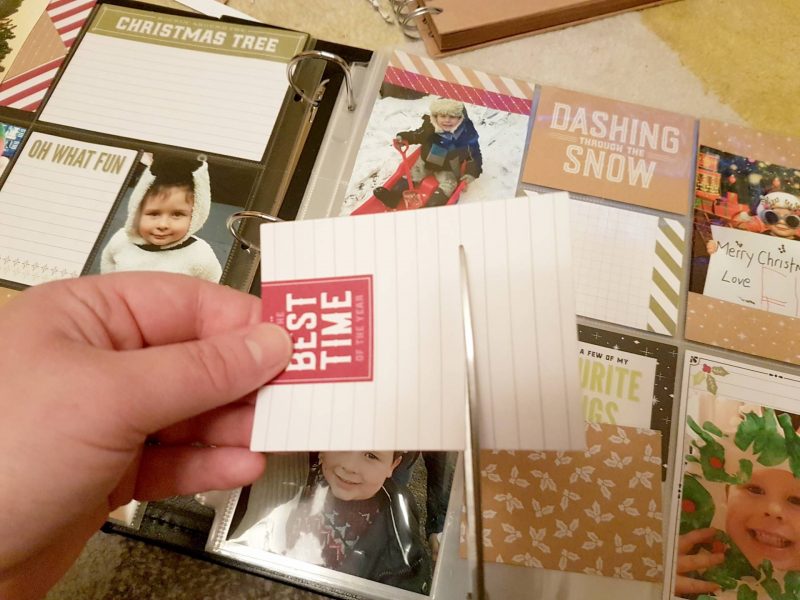
I started off by putting my photo’s into pockets and then playing around with the card layout. You can move them around if you change your mind. I like to use both sides of the plastic pockets, I find that double filling the pockets means the cards and photos move around less and it gives each sheet a less flexible feel. It also means you can use both the front and reverse of a card if you like both sides and can’t decide which to use.
You can pretty much do as you like now. You can add words, embellishments or even cut and shape the cards so the designs are exactly what you want.

Once you’ve settled on your layout and designs, then you need to stick them down to stop them moving when you turn the pages. I’ve never had any issues using bog standard Pritt Stick but you could use glue dots or double sided tape if you prefer.
![]()