

I’ve been after a sandpit for a while for the little man. I had a solid wood one when I was younger and it was one of my favourite toys, so I wanted him to have something quite similar.
After much deliberation and internet searching we decided to try and make one instead of buying one. We seem to have accumulated excessive amounts of scrap wood so decided to try and make one instead, saving cash and clearing our garage in the process.
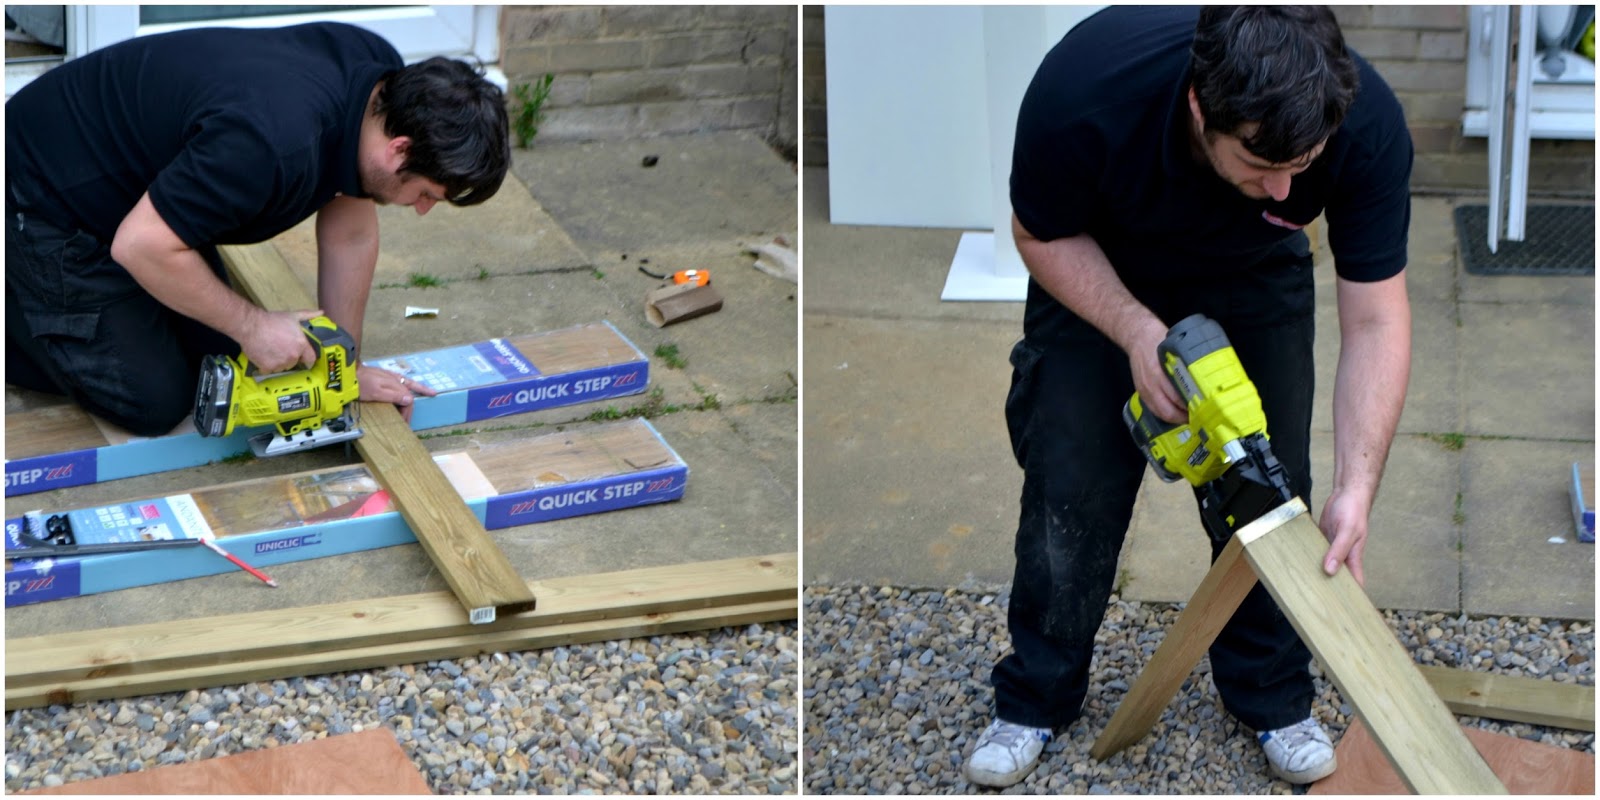

One the sides were joined together he nailed on the bottom panel. A lot of wooden sandpits nowadays don’t come with a bottom, you’re expected to use a waterproof sheet underneath the sand and I’m not really a fan of this style and much prefer a solid box so the sand stays in one place. The panel we used was left over from the outdoor chalkboard we made, this is the size we worked round. Rather than cute the main flat board, we found it easier to cut the frame pieces to match it.

I painted the edge with English Primrose Valspar exterior paint. I used about half a tester pot on two coats of the sandpit. The tester pots only cost £2.38 from B&Q and a little goes a long way. Valspar is my new favourite paint. The colours are fab and you can paint anything.

I left the sandpit to completely dry overnight and then stocked up on play sand. It took 3 bags of sand which cost £2.99 each. The worst part was lifting them in and out of the car, I now have muscles like Popeye!
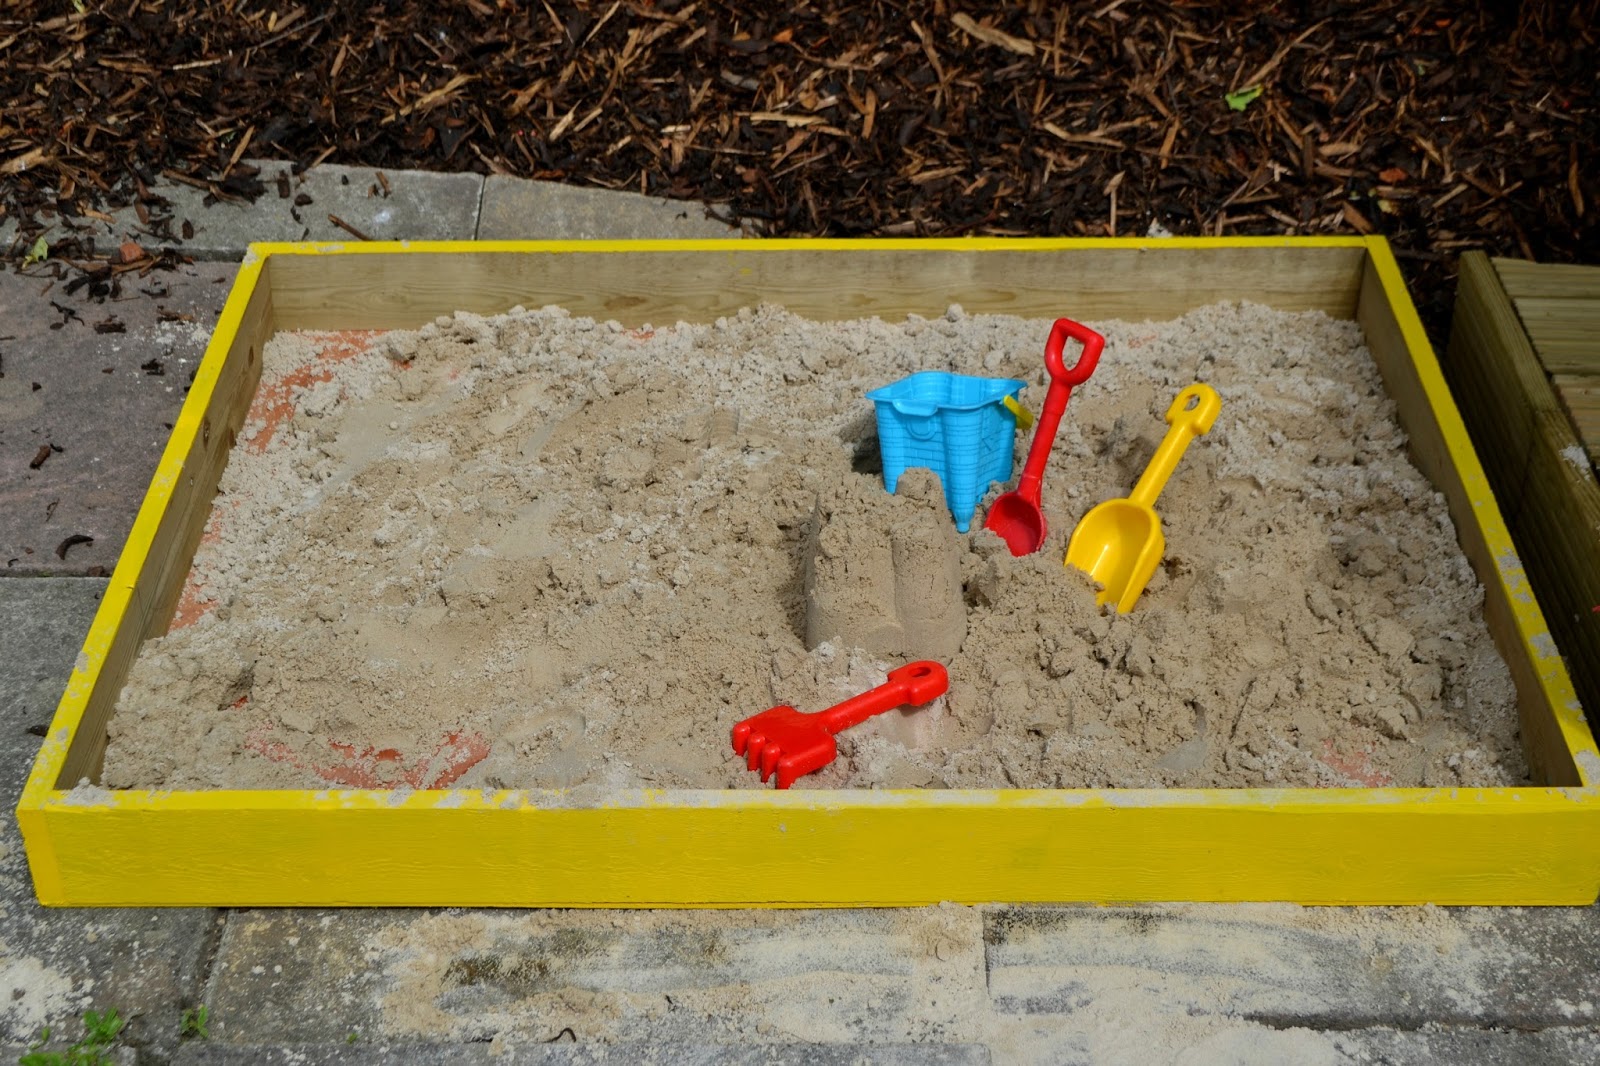
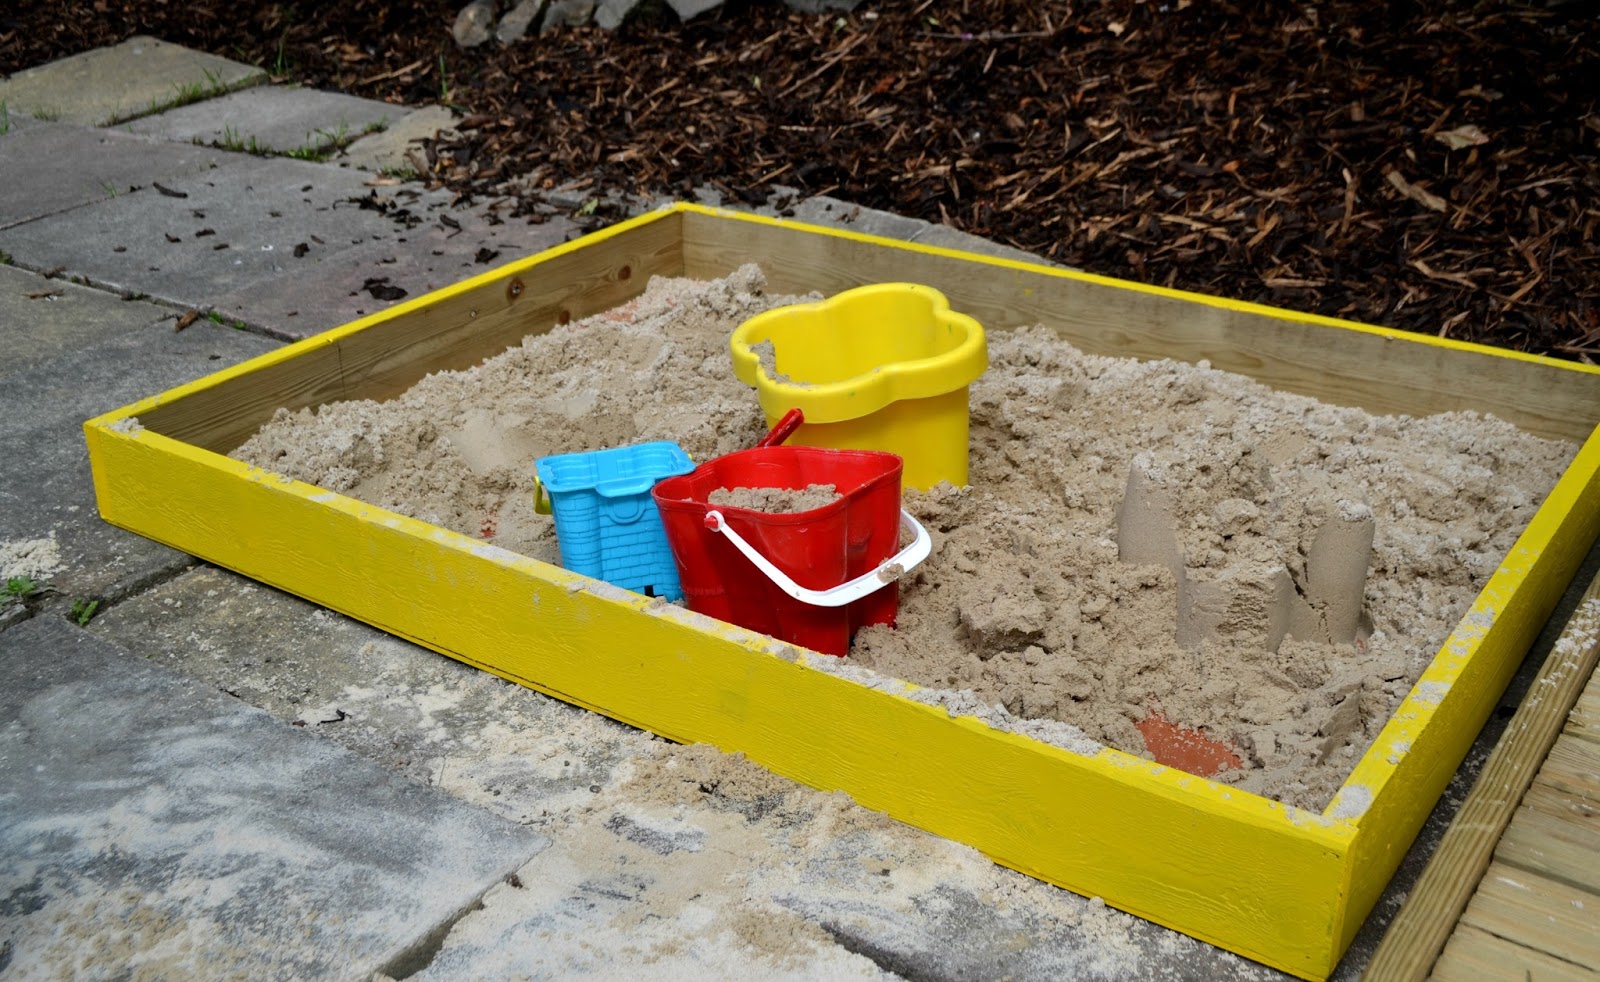
As you can see, the sand didn’t stay in the sand pit for long, so technical the little man has a ‘sand area’ rather than sand pit.

I can’t believe how quick and easy the sandpit was to make. It’s the perfect use for old wood and a tiny drop of paint.
Our next task is to create a lid to protect the sand from the weather.
What you will need
4 pieces of reasonably deep wood cut to size to create the frame (prepped for outdoor use)
a base piece of wood
some bright coloured outdoor paint
lots of sand!

Brilliant idea – thank you 🙂 I'll be saving this post for when my daughter is old enough to enjoy a sandpit!
Helen x
http://treasureeverymoment01.blogspot.co.uk/
This is a fab idea!!! Love it. We've got a little plastic sandpit on legs but most of the sand ends up on the floor!! If it was *already* on the floor, life would be so much easier!! 🙂 Thanks for sharing and thanks so much for linking up with #HomeEtc — hope to see you again tomorrow! x
Caro | http://www.thetwinklediaries.co.uk
PS — I've been trying to comment on your other post — the 'freshening up your home' one, but I can't seem to leave a comment!!! It's so weird!! LOVED it though 🙂 xx
Caro | http://www.thetwinklediaries.co.uk